JStudio Step by Step User Guide.
JStudio is an application to help in the creation of Joomla components. Follow these steps to start building your component.
1- Download and unzip application file. You should hav the following files: “DockingManagerExtender.dll”, “FastColoredTextBox.dll”, “Ionic.Zip.dll”, “MagicLibrary.DLL”, “TabStrip.dll” and “JStudio.exe”. Make sure all these files are in the same folder before executing the application, and then execute it.
2- Go to menu, click “File” and then “New Component”.

3- Now you should see a window asking for details about component. Type the name of the component (“TestComponent” for example), a destination folder to create it and all the necessary information.

4- Click OK and the component file structure will be created.

5- Browsing the folder structure you will see a back-end view created by default.

6- You can delete it if you want by right-clicking the "about" view folder and then “Delete Folder”.

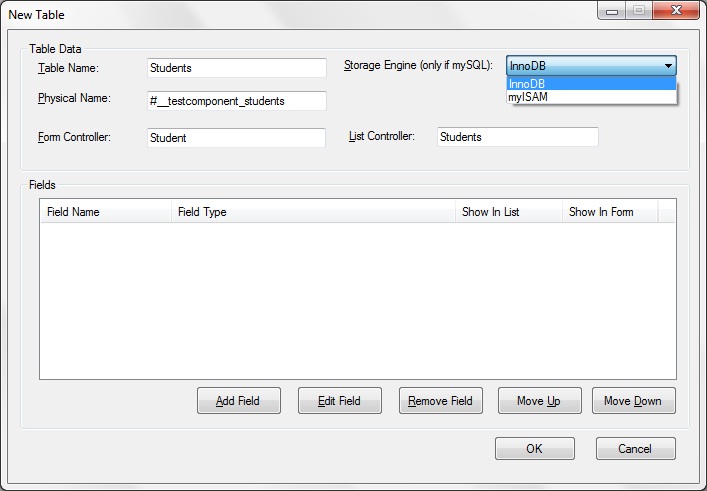
7- Now, we can add a database table to the component.

8- Type a name for the table (Students for example). You will see that fields Physical Name, Form Controller and List Controller and automatically filled, but you can change them if you want.

9- Now start adding fields for the table. In this example I will only add an Id and a field called “Name” for student name.

10- For Name field I will mark option “Use in Text Search” to be able to search in this field in back-end view.

11- Now go to menu and click “Project/Wizard/Generate Back-end Management for all tables”.

12- Now the views “Students” and “Student” are created, as well as the corresponding controllers and models.

13- Now just click “Project/Create Package” and you’ll have the component ready.

14- After code has been generated you may want to make modifications to the views, models or controllers created. If you don’t want your code to be overwritten you would have to lock the corresponding table. Now, next time you click “Generate back-end management for all tables” those views, models and controllers won’t be affected.


